Inpaint
Paint over part of a photo and only that part is re-imagined.
Nodes: Prompt and Image → Inpaint → Output.
Remove something, replace it, change clothes, fix a face, or extend the photo past its edges (outpainting).
Steps
- Flows → Inpaint — paint an area to redo.
- Tap the image node and choose the photo.
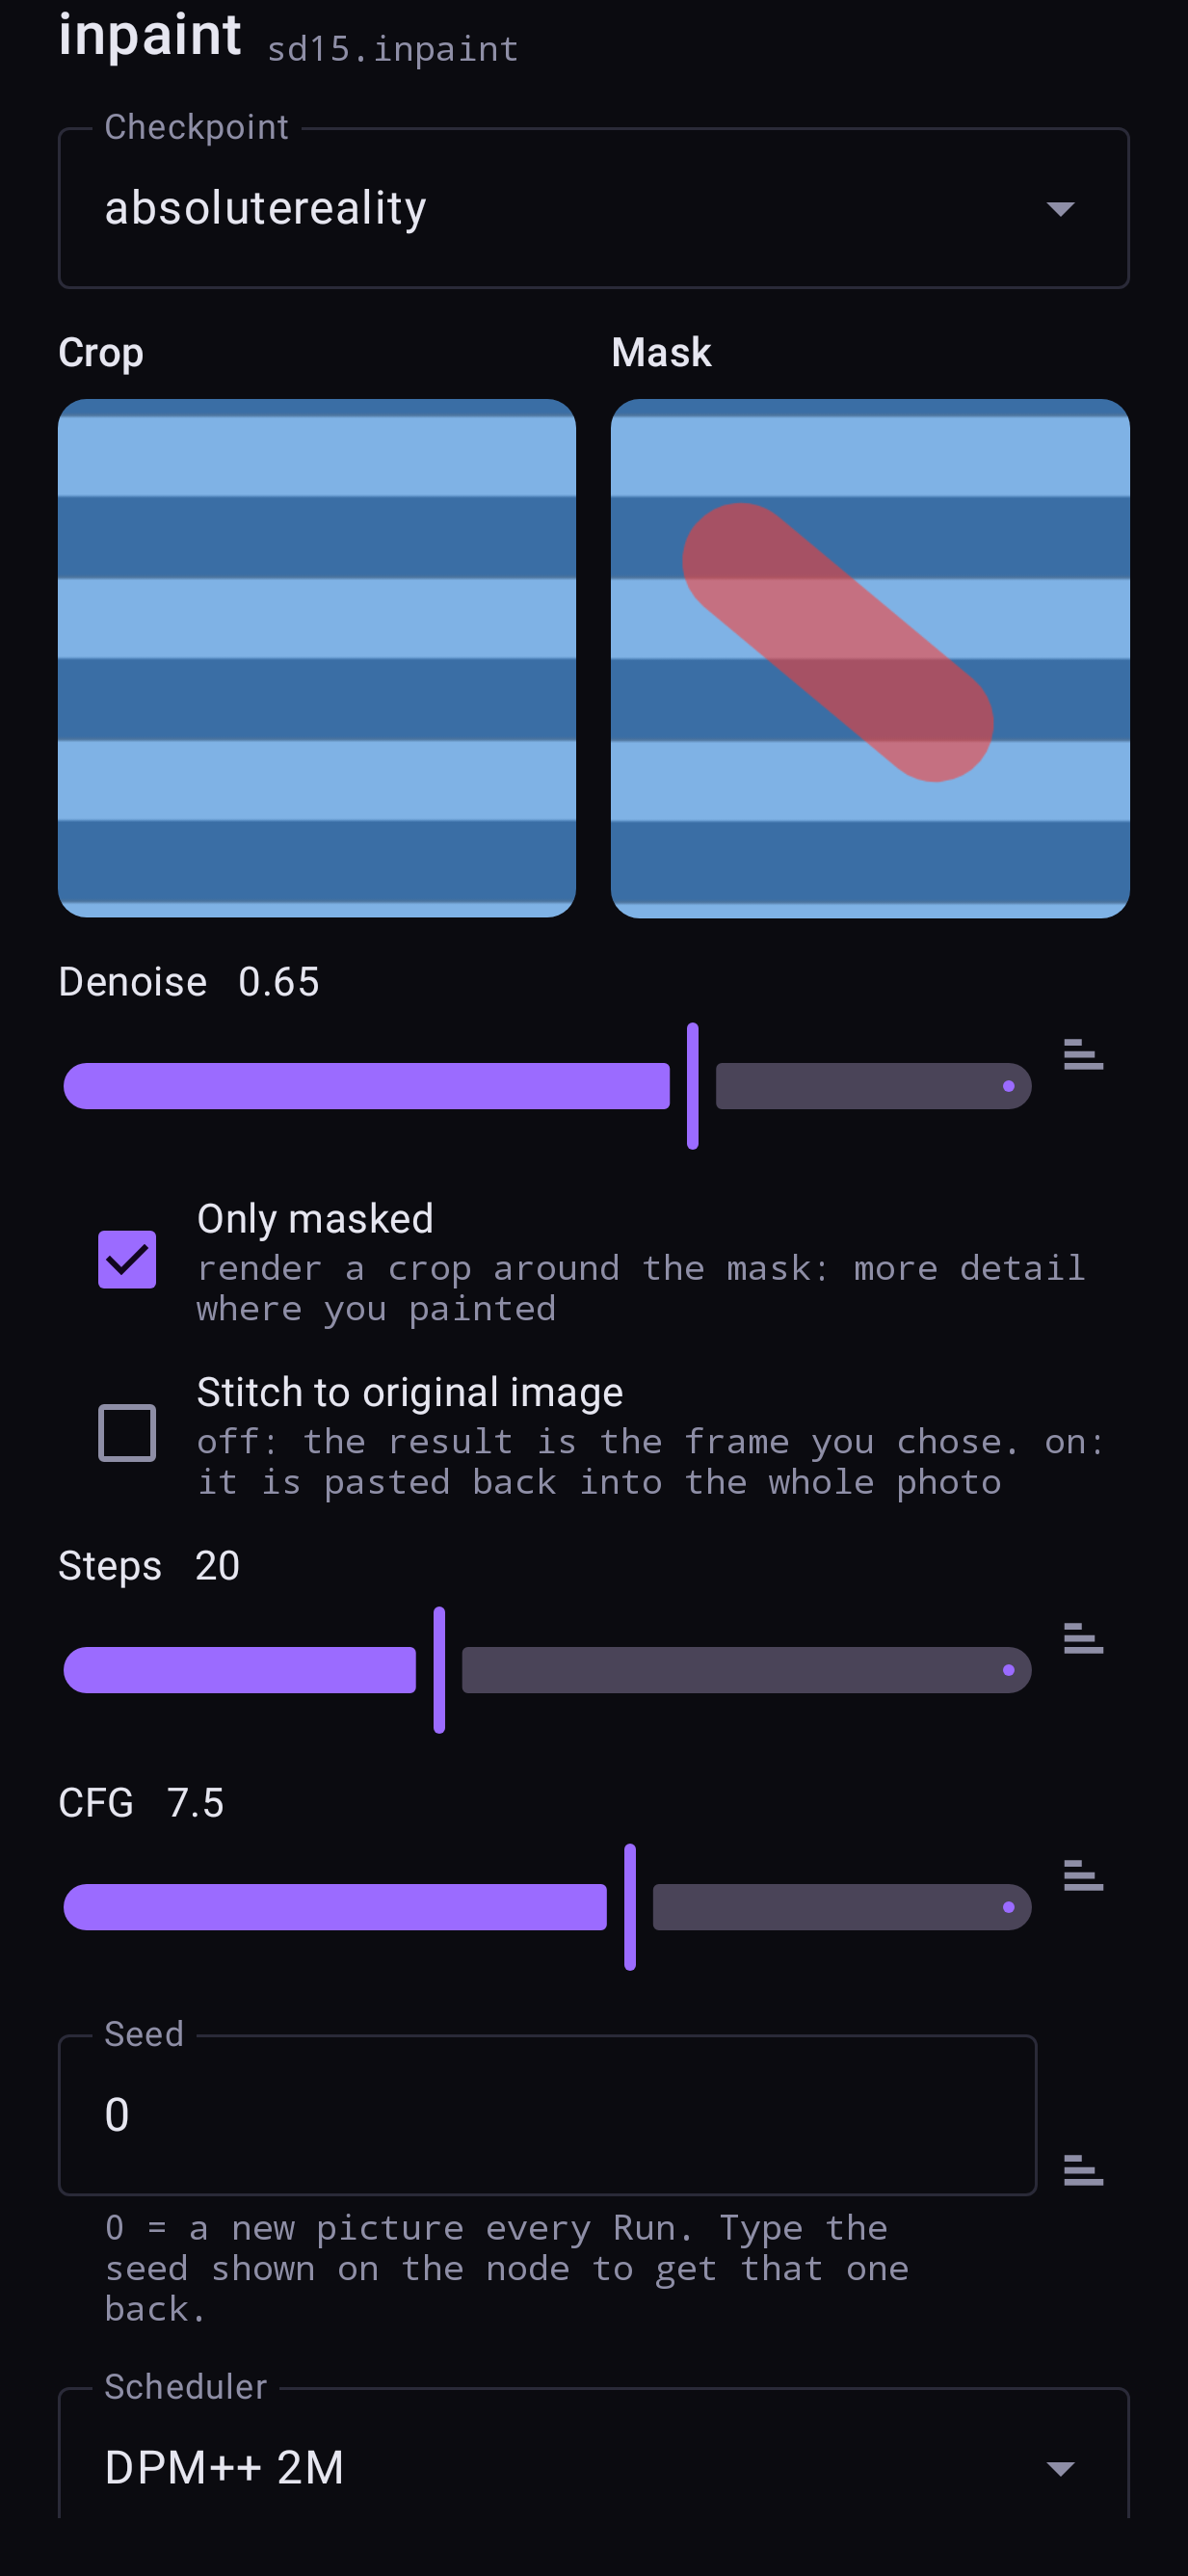
- Tap the Inpaint node. Its sheet shows two small pictures, Crop and Mask.
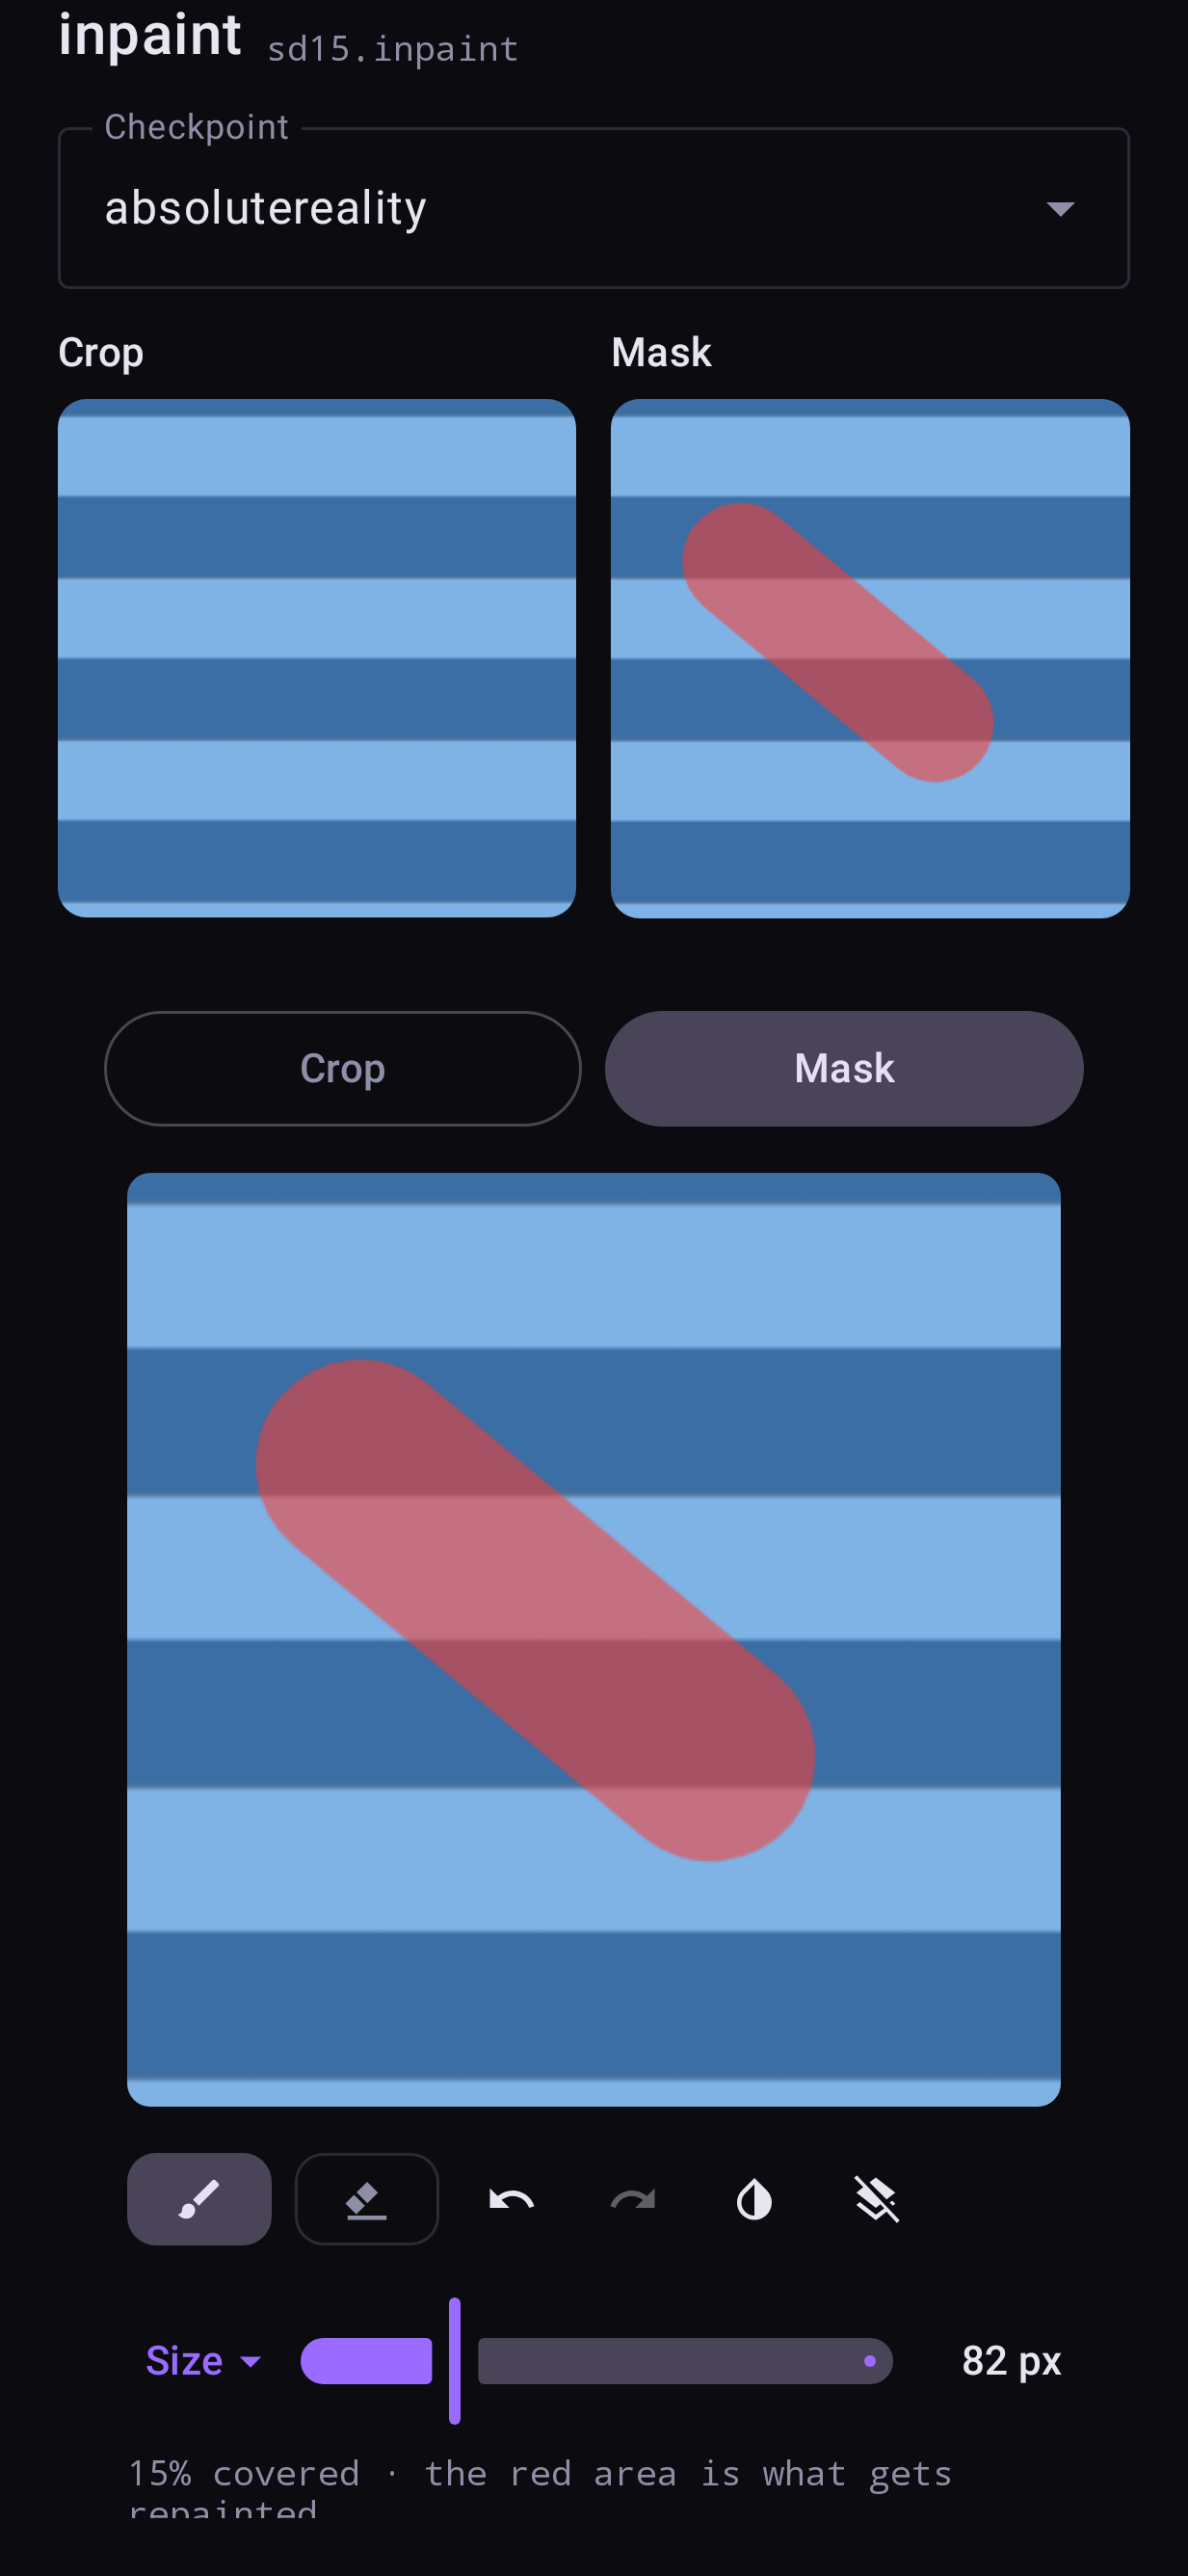
- Tap Mask and paint over what you want redone (details below). Pull the window down to close it.
- Write the prompt: describe what should be in the painted area, in the context of the
whole picture —
a red leather jacketrather thanchange the jacket. - Run.
Which model to use
Any SD 1.5, SDXL or Anima model inpaints. AbsoluteReality Inpaint (in Models → SD 1.5) is a dedicated inpainting model: it sees the hole and the pixels around it, so the new part fits better, especially for large areas. Use it when you can.
The mask editor
| tool | does |
|---|---|
| 🖌 Paint | Paint the area to redo. Pinch to zoom in for precise edges |
| Erase | Remove paint |
| ↶ ↷ | Undo / redo a stroke |
| ◑ Invert | Swap painted and unpainted — "redo everything except this" |
| Clear | Remove all paint |
| Size | Brush size in pixels |
The line under the tools says how much of the picture is covered.
Tap to select
Tick Enable tap to select in the Inpaint sheet (the first time, it offers an 87 MB download). In the mask editor, tap an object and the mask follows its outline. Tap it again to take more of it, and once more to let it go. This is Segment Anything 2.1, running on the phone's CPU.
Auto mask
Tick Enable auto mask (a 29 MB download) and chips appear in the mask editor: Clothes, Face, Hair, Shoes, Bag. Tap one and that part of the person is masked. The flow remembers the choice and masks every new photo by itself — for example a clothes-swap flow where you only change the photo and press Run.
After a tap or a pick, Grow widens or narrows the selected area, and Feather softens its edge.
Only masked, and Stitch to original image
- Only masked (on by default): the model works on a crop around your mask rather than the whole photo, so the painted area gets far more detail. Leave it on for small areas.
- Stitch to original image (off by default): off, the result is the frame you chose; on, the repainted area is pasted back into the full-size original photo.
Outpainting: extending the photo
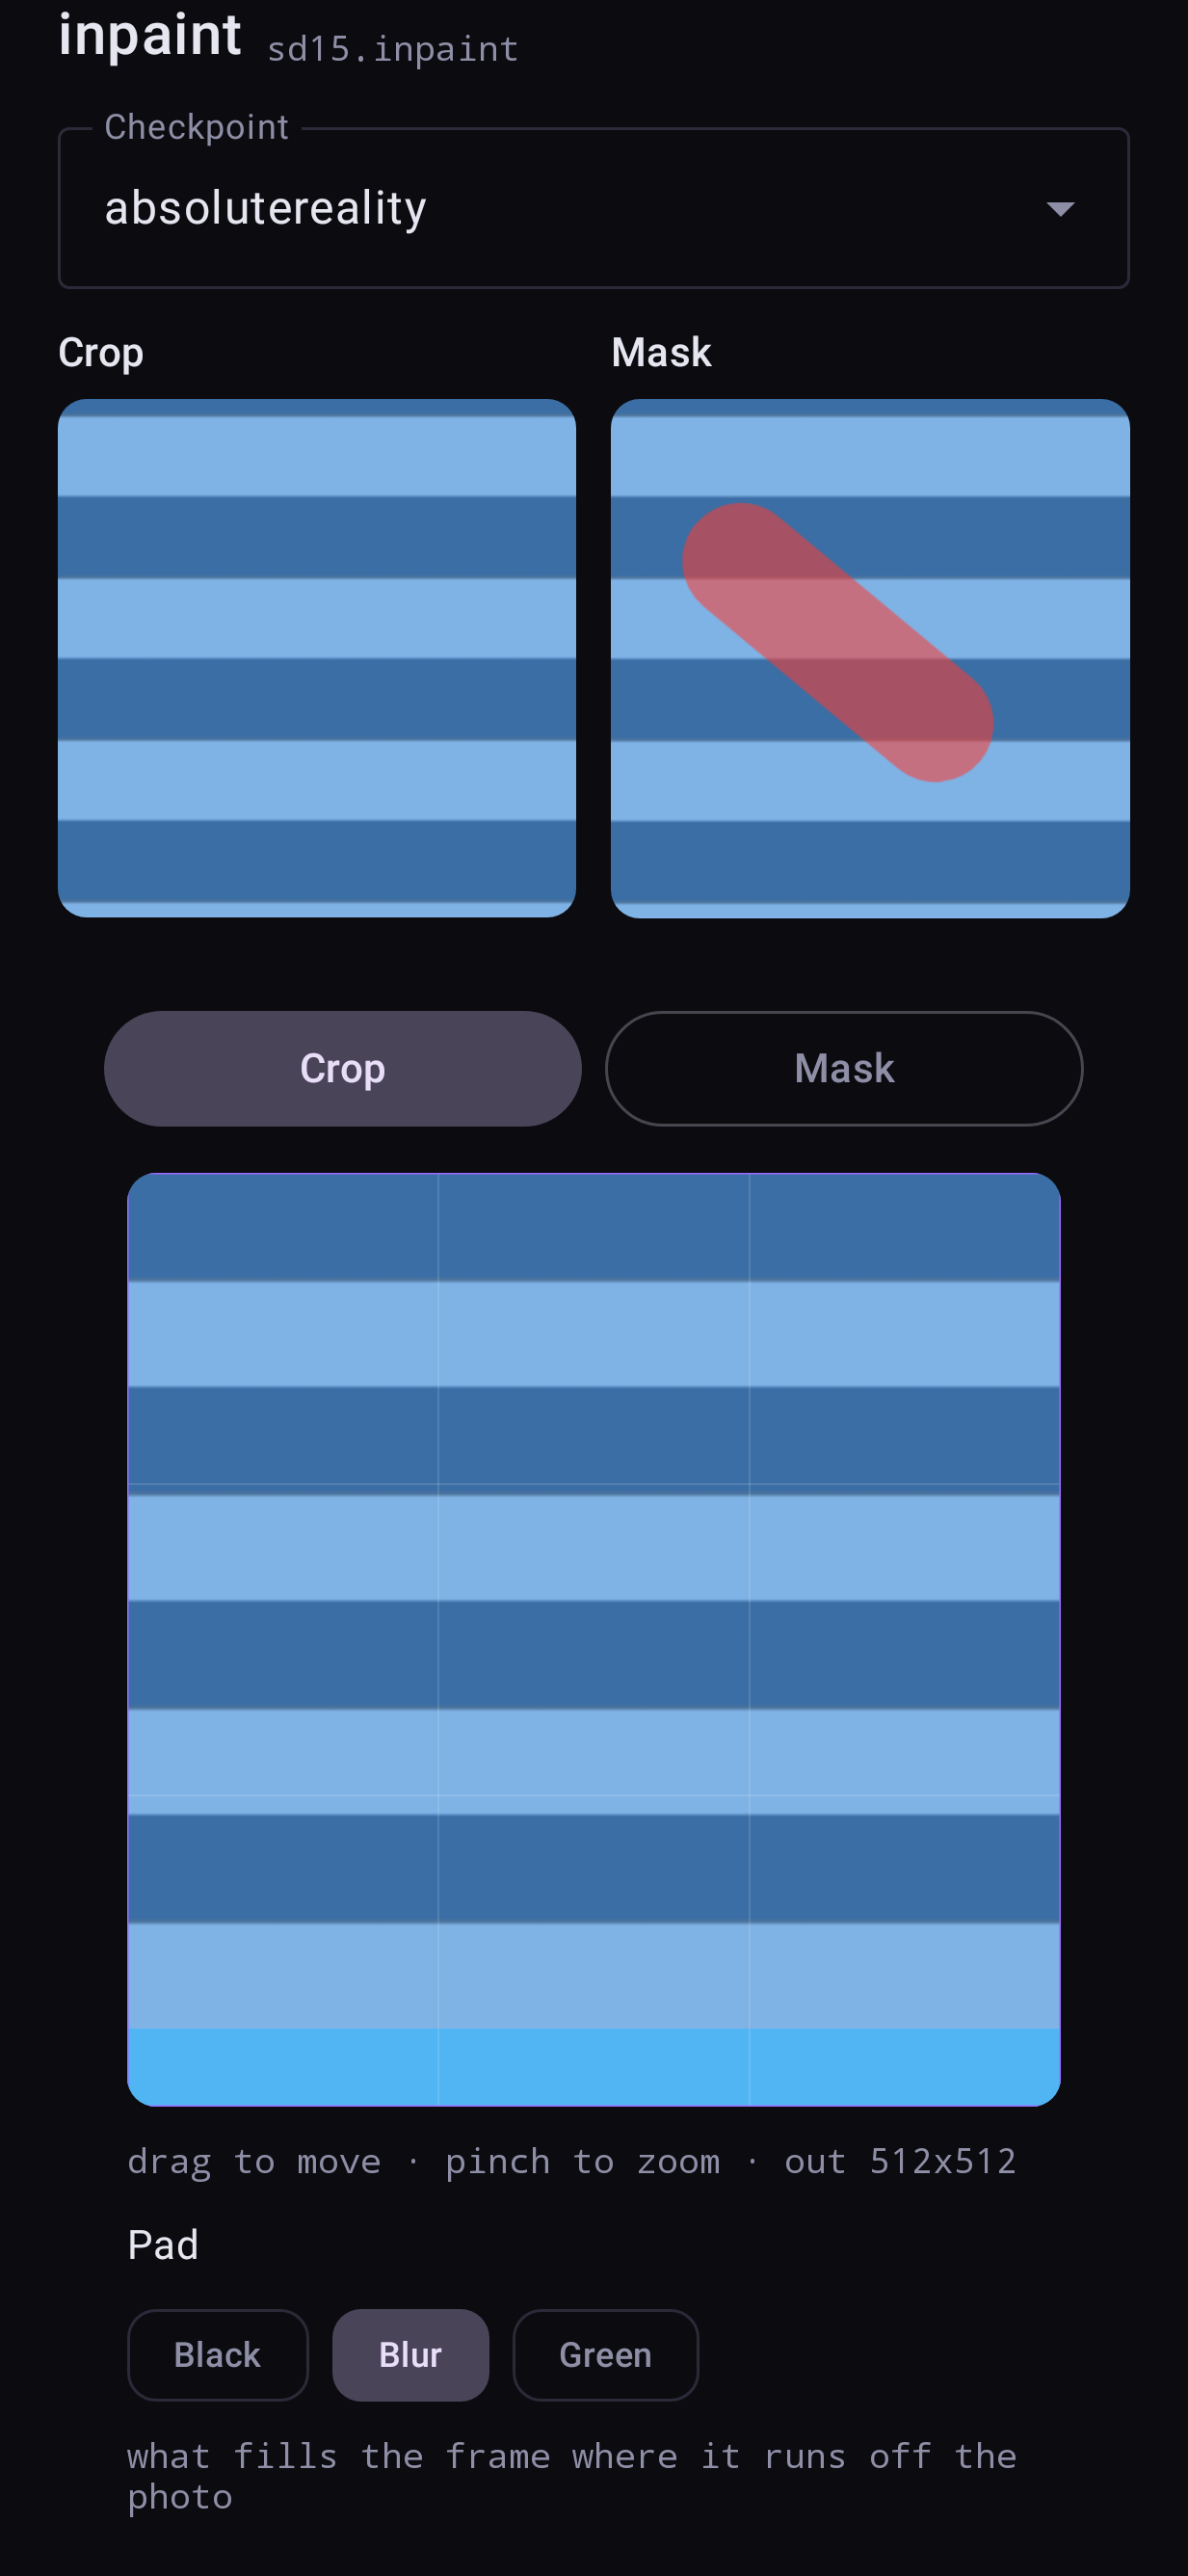
In the Crop view you can zoom out past the photo's edges (up to twice its area). The empty part is generated. What fills it before generation is the Pad choice:
| pad | use it for |
|---|---|
| Black | Plain extension; the model invents everything |
| Blur | The photo's own edges, blurred — a smoother start for scenery |
Green (#00FF00) |
Outpaint LoRAs trained on a green screen |
Tips
- Paint a little beyond the edge of the thing you are replacing, so the model can blend it.
- If the result ignores your prompt, raise denoise; if it changes too much around the edge, lower it or tighten the mask.
- To paste in a real object from another photo instead of generating one, see Add Objects.