Upscale a photo
A picture from the gallery, enlarged. No checkpoint involved — the upscaler is its own small model.
Nodes: Image → Output, with Auto upscale ticked on the output.
First: install an upscaler
Models → Upscalers. Two are offered, 8–24 MB each:
| upscaler | best for |
|---|---|
| RealESRGAN x4plus anime | Drawings, anime, flat colour |
| 4x UltraSharp V2 Lite | Photos |
You can also import your own converted upscaler (a .bin file) there.
Steps
- Flows → Upscale a photo.
- Tap the image node and choose the picture.
- Tap the output node: Auto upscale is ticked. Choose the upscaler and the scale (2×, 3× or 4×).
- Run.
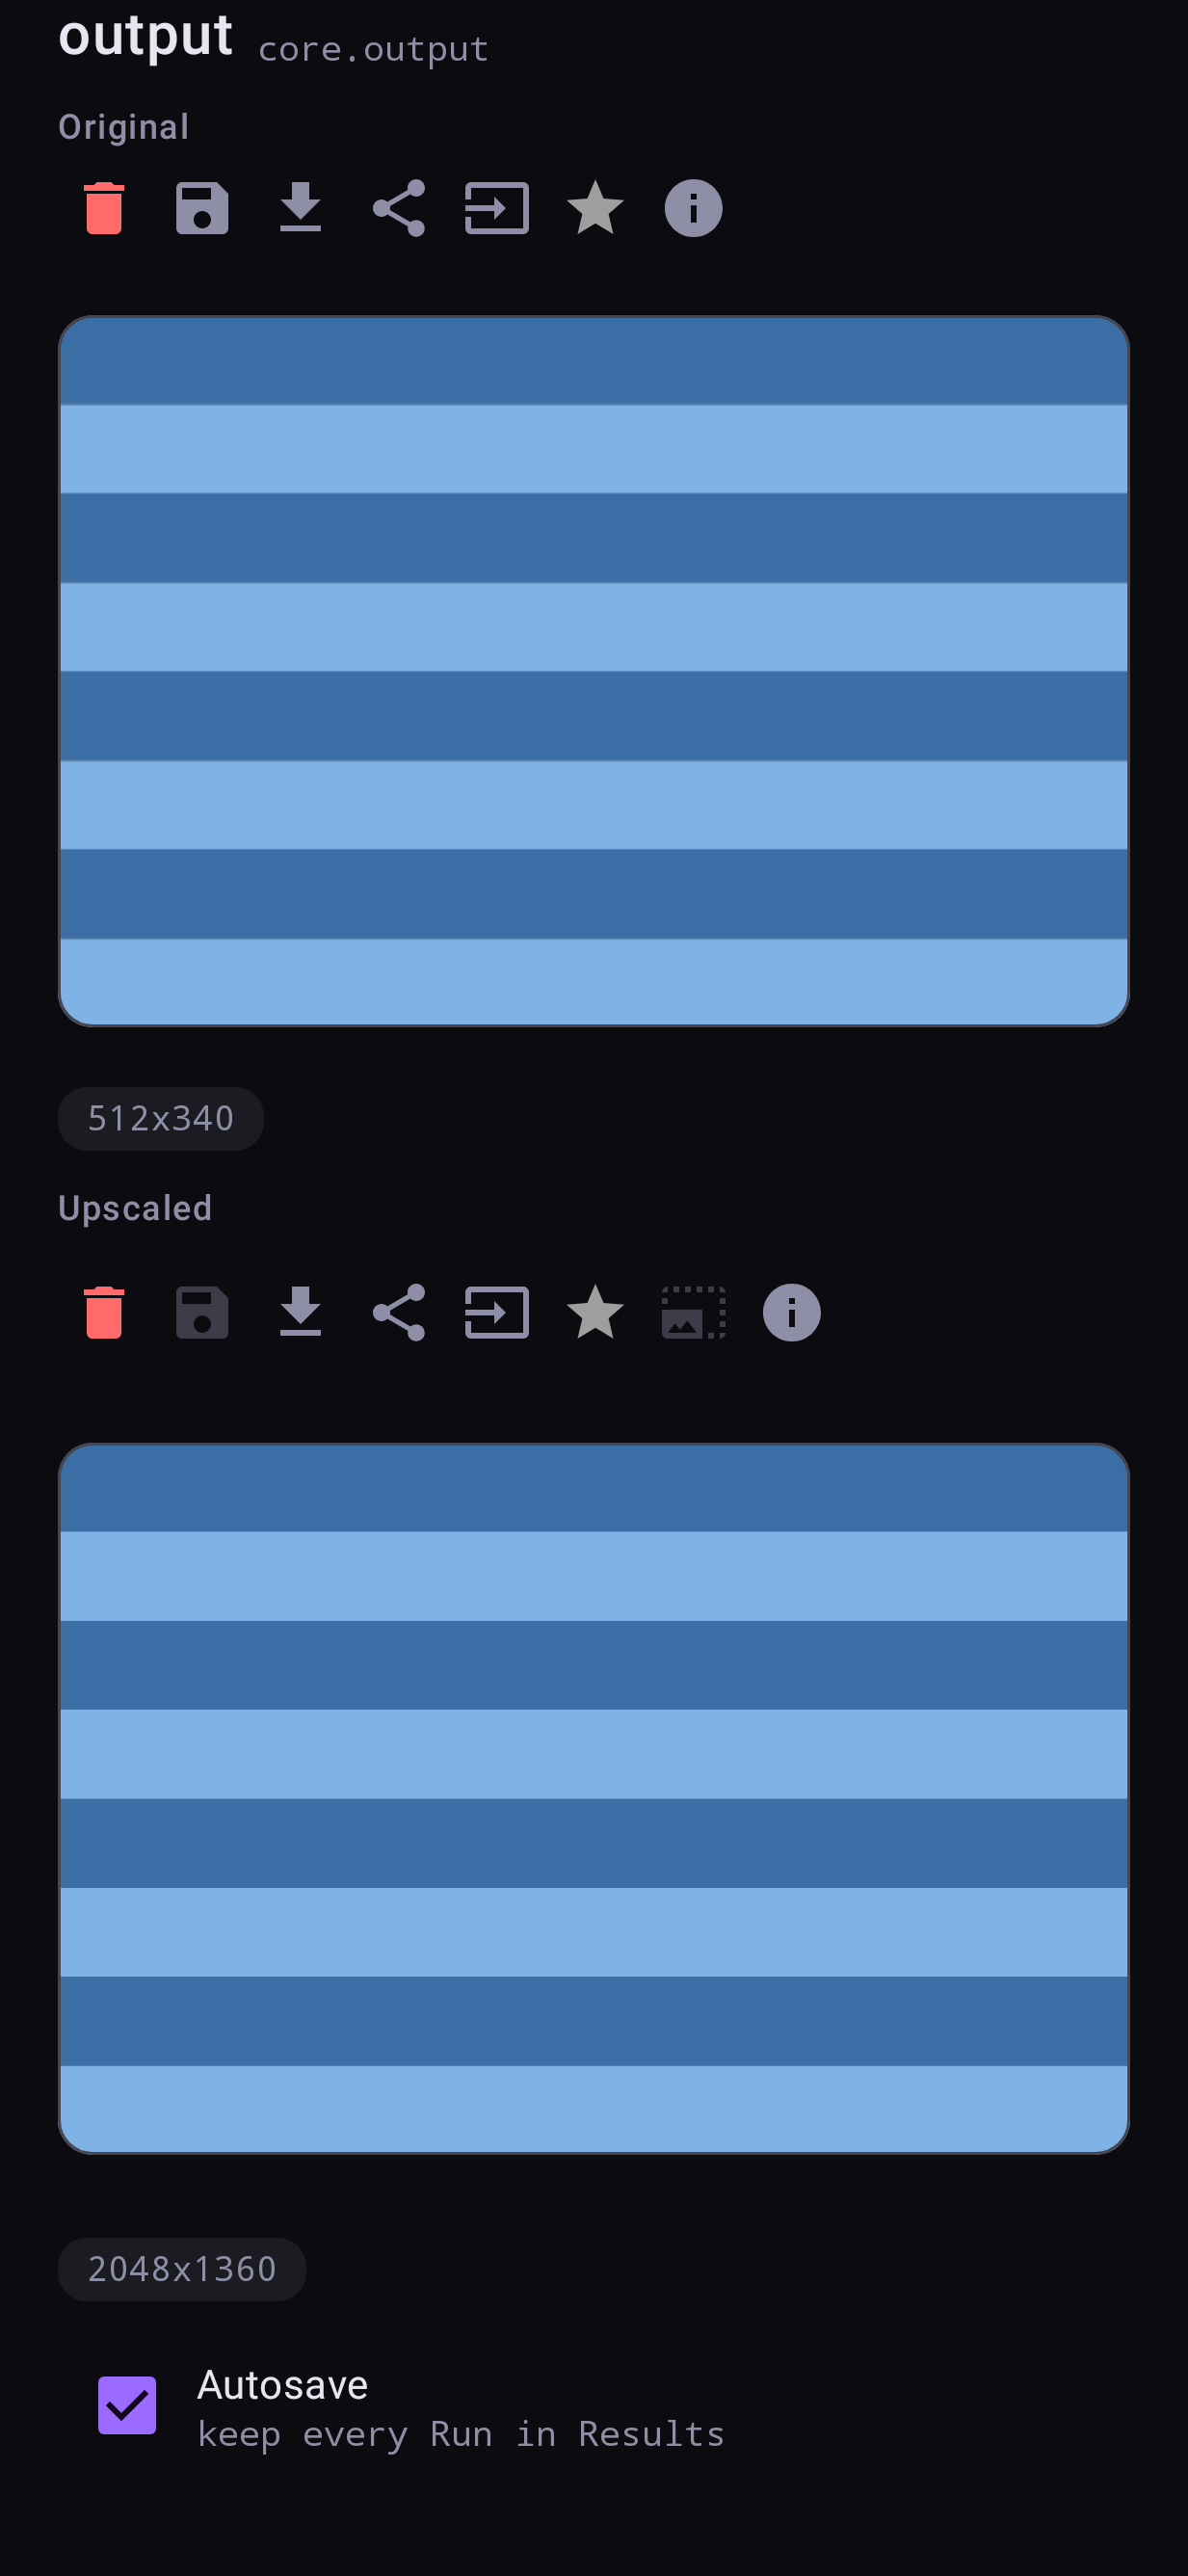
The output node shows what it received above what it made, each with its own save and share buttons.
The 4096-pixel limit
A result may not exceed 4096 pixels on its longer side. If the scale you chose would pass that, the largest scale that fits is used instead, and the app tells you. Scales that would not fit are dimmed in the chooser.
Upscaling any flow's result
Auto upscale is a checkbox on every output node, so any flow can enlarge its own result: tick it on the output of a Text to image flow and each picture comes out bigger.
Upscaling something you already made
In Results, open a picture and tap the upscale button. The enlarged picture is kept as a new item and the original stays.